
How to Straighten a Crooked Warp
You may have heard the terms warp and weft. Warp and weft combine to create the weave of the particular fabric. The warp threads run vertical and weft threads run horizontal across the width of the fabric.
Ideally, these threads are perpendicular to each other and your fabric will remain in the shape you intended. The end project will also behave the way you expect; curtains will fall straight for example or napkins will be square.

On occasion you may find a fabric with a warp that is not straight. At Birdsong Quilting, our experience is that fabric almost never comes off the bolt with a straight warp, especially wide backings. This can result from uneven tension when the fabric was made or from storage. Even day-to-day rumpling that happens on the shop shelves can shift those fibers in the fabric.

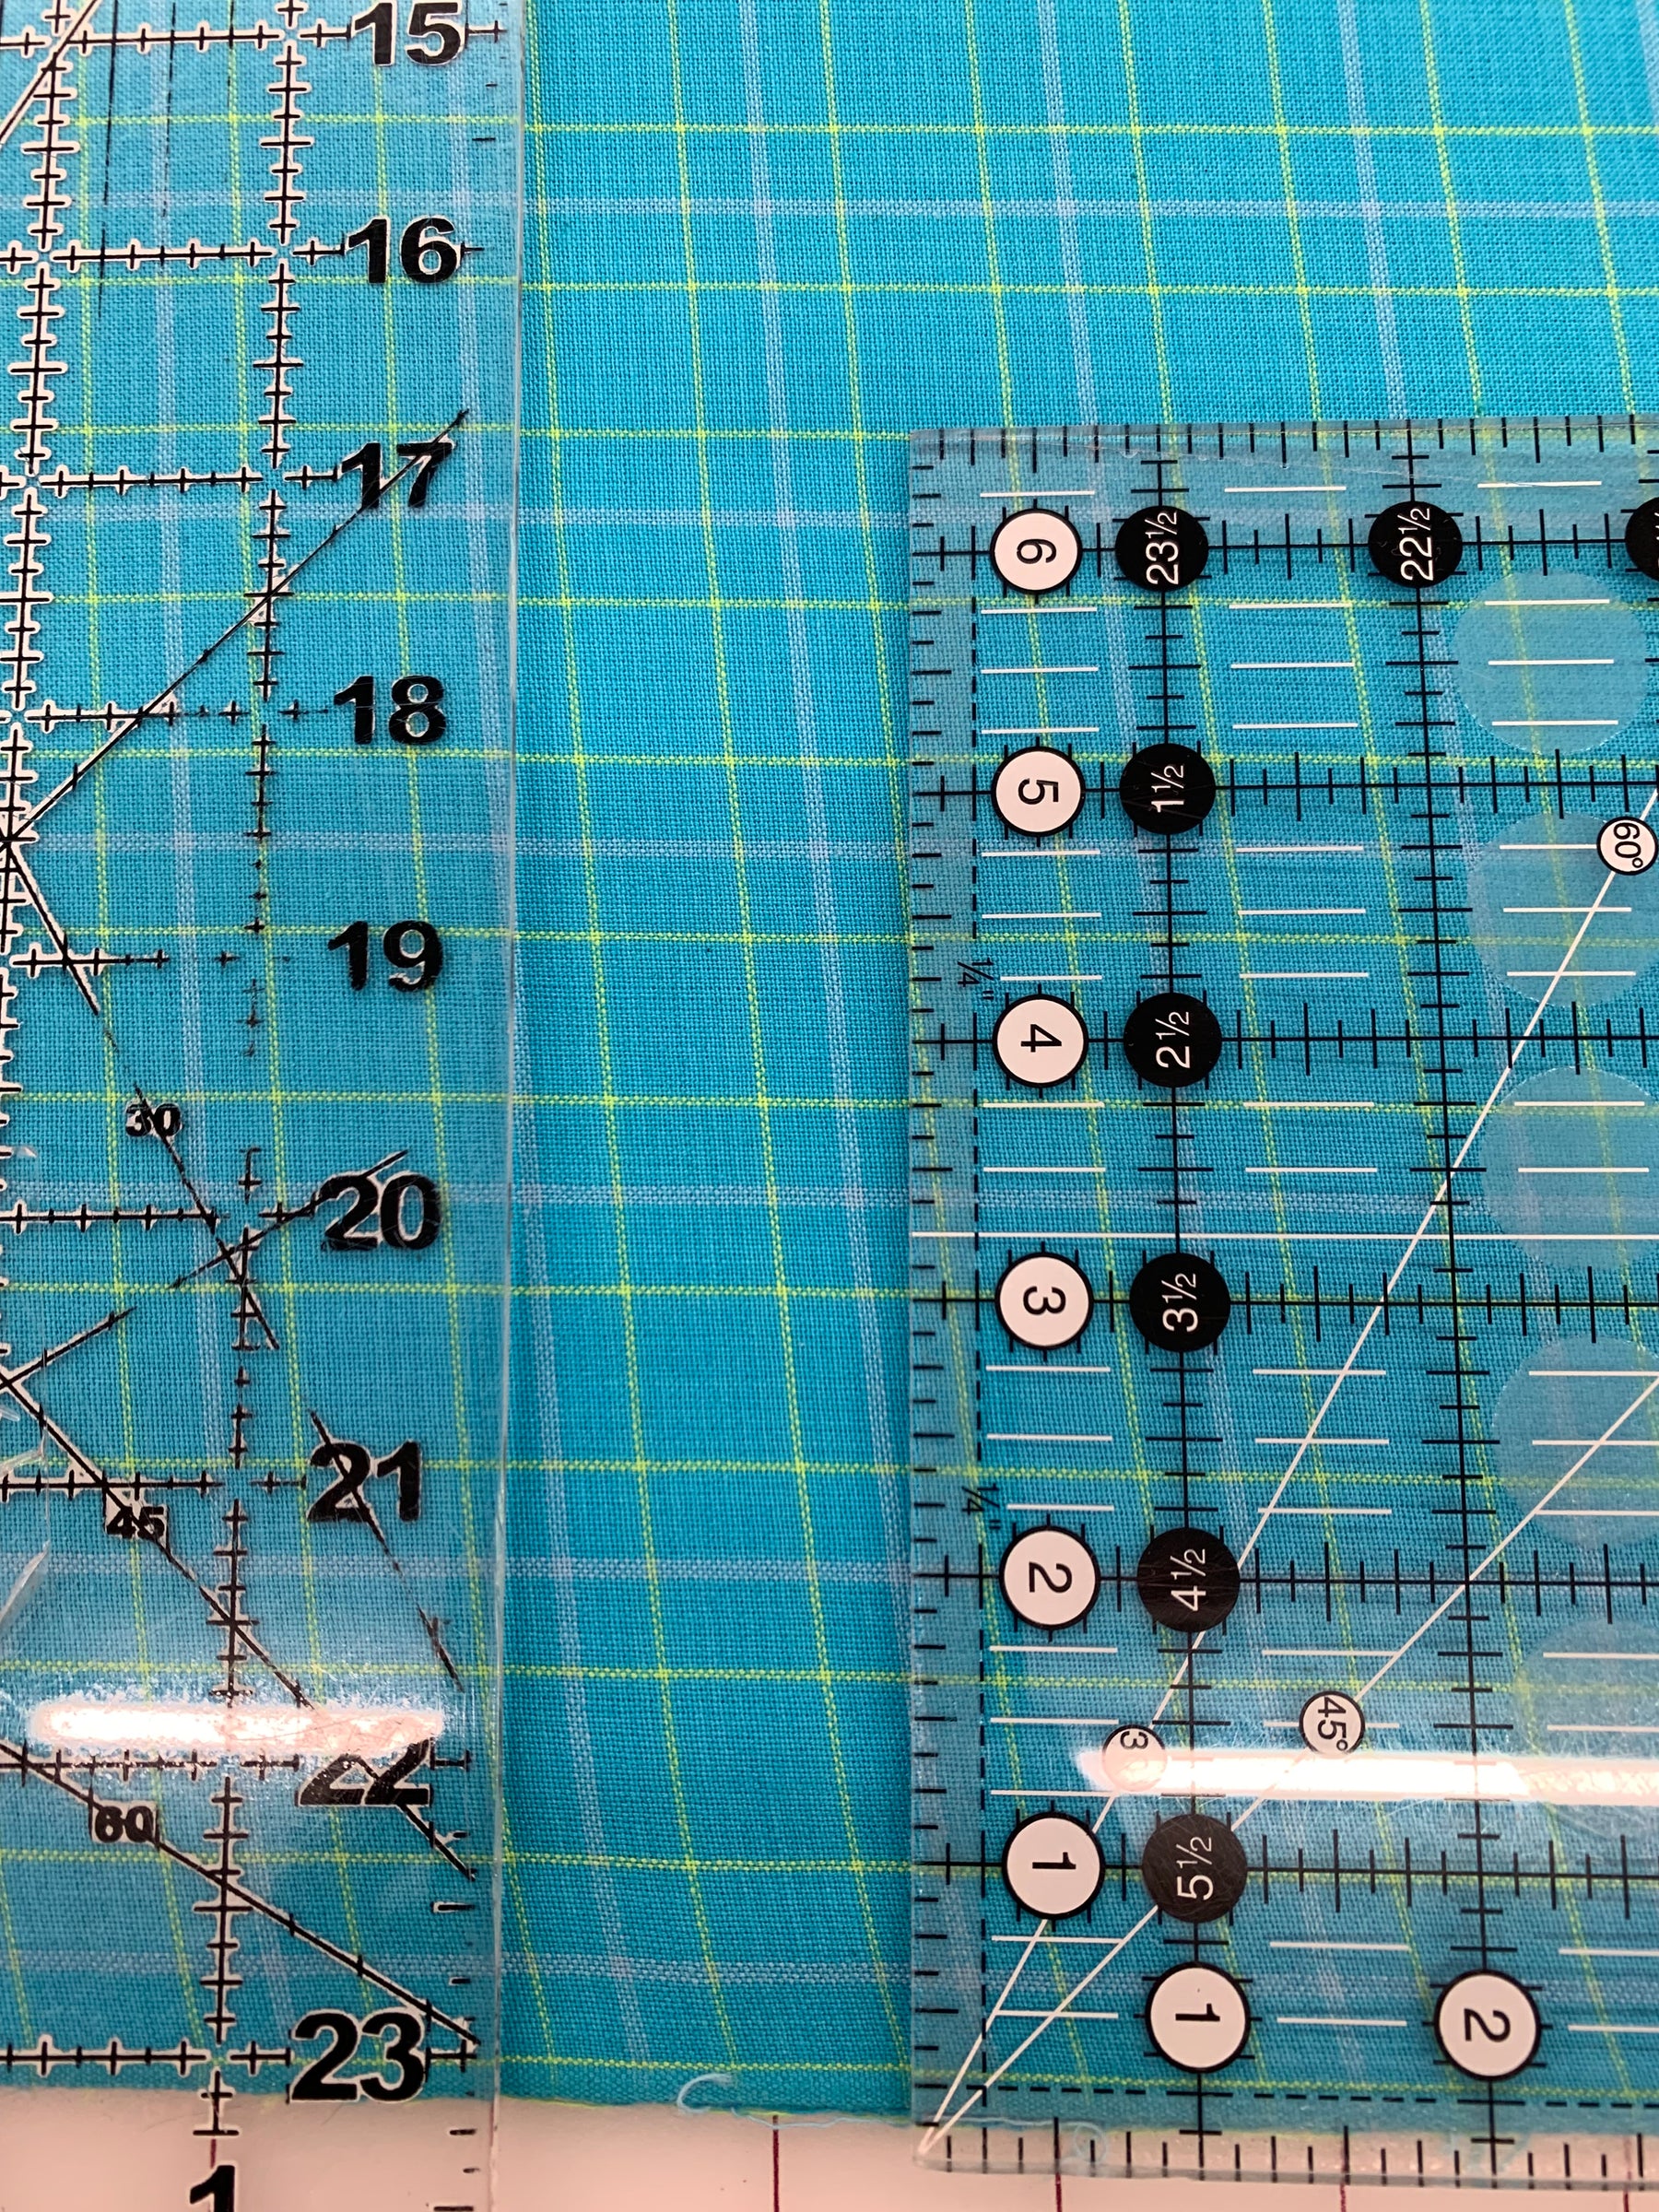
In the picture above, you can see the fabric starts at the 3” ruler mark at the top, and down at the bottom, near Shannon’s label, the fabric edge is closer to 2.50”!
Start by purchasing a bit of additional fabric. Depending on the bolt and pattern you are using, you should pick an amount between four and nine extra inches.

It is possible to physically manipulate the fabric with gentle tugs, working first on one side of the fabric, then the opposite side. The tugs you make should be in a diagonal direction from the corners. Gentleness is key! A little light mist can also help nudge those fibers back into straight lines so you can get square cuts.
It’s an exercise worth your time to better understand your fabric and to have your project come out the best that it can be. We hope these tips help you be successful working with panels, homespuns, and cutting your borders!